How to Make Handpans/Pantams(2/3)
Kita Pantam Company has aimed to release a series of articles to explain how to make Handpans/Pantams. These articles are monthly and will guide you to get familiar with the process of making these magical musical instruments. Every handpan/pantam maker employs sophisticated and special steps to create an instrument that sounds well. These steps in general consist of metal forming, heat treating, shaping, and tuning. In these series of articles, we are going to explain the steps that we go through to get your handpan/pantam ready. You can also find the first article of this series here; in this current article, we are going to describe the fourth and fifth steps which are pressing and shaping.
After the third step, we have to define the layout, notes and the scale of the instrument.
Define the Layout
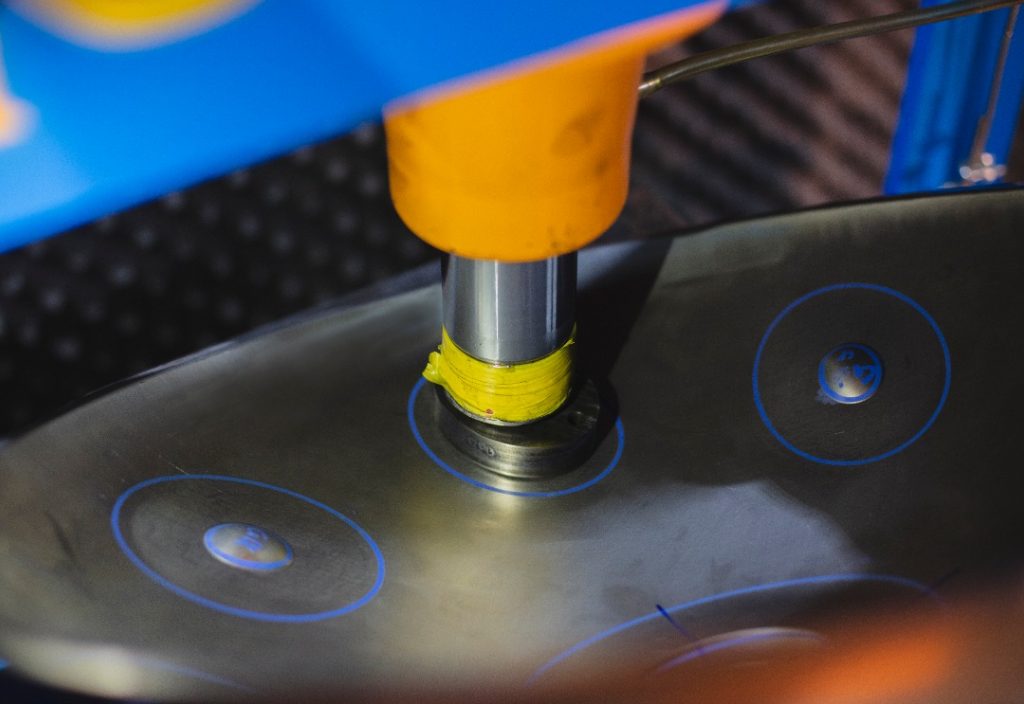
Usually first, depending on the instrument’s scale, the notes are drawn on the inner side of the top shell (also on the bottom shell in case we are having bottom notes as well), to accurately find the right place of the notes to be pressed later. There are different sizes of molds that are used for pressing the notes. These molds have circular or oval areas with a whole in the middle. So using the proper molds, the notes are pressed, pressing will create dimples (A common term for the central, indented part of a note, so-called because of its shape) plus the tone fields (the flat, oval-shaped part of the note around the dimples).
Shaping
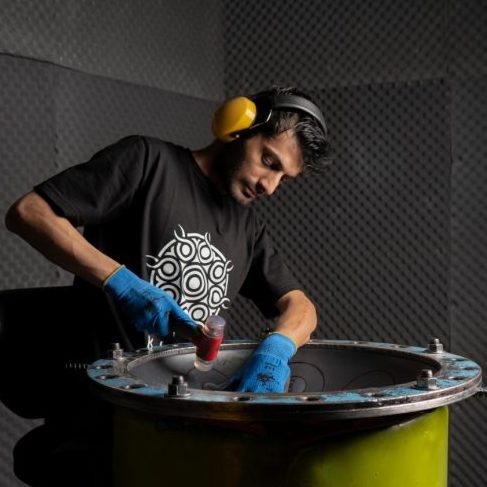
After these steps, you have the shells with almost the look of an instrument. Next is to fade out the lines around the Tone fields by hammering which can be done using hand hammers and also more commonly pneumatic hammers (pneumatic hammers are employed in KitaPantam workshop).
Shaping has many things in common with sculpting, and makers must be careful not over-shape the metal as it will eventually tear and reform the metal in a bad way.
After the shaping is done, shells are ready for the most important and critical step which is Tuning.
Next steps
In the future, we are going to discuss the tuning step as well..
Kita offers shells that are all deep drawn and plasma nitrated for other makers. Also, we offer training courses for all the enthusiasts in exchange for buying high quantity shaped shells, which are required to start making your Handpans. We do not charge anything for the practical training sessions, we just charge you for buying a minimum of 40 shaped shells which are critical for starting your own line of handpans.
For more information, please visit our Makers Shop page or contact us at [email protected]
To be continued
Tags
- Define the Layout, make a handpan, make handpan, pantam making, Shaping, step 2/3
